Introduction
XOOPS CMS is an extensible, OO (Object Oriented), easy to use dynamic web content management system (CMS) written in PHP. XOOPS is the ideal tool for developing small to large dynamic community websites, intra company portals, corporate portals, weblogs and much more.
What you’ll need
Before you begin this guide you’ll need the following:
Active 000webhost hosting account
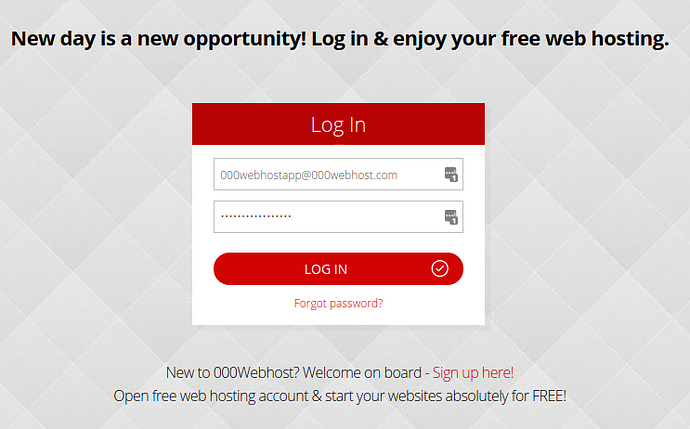
1)Login to your 000webhost control panel. You can do this by visiting https://www.000webhost.com/cpanel-login
2)Fill in your 000webhost details and login to your account.
3)Click On “Upload Files”.
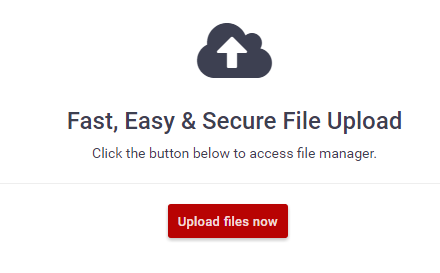
4)Then click on “Upload Files now”
5)After clicking on “Upload Files now”…you wll be redirected to “000webhost File Manager”.
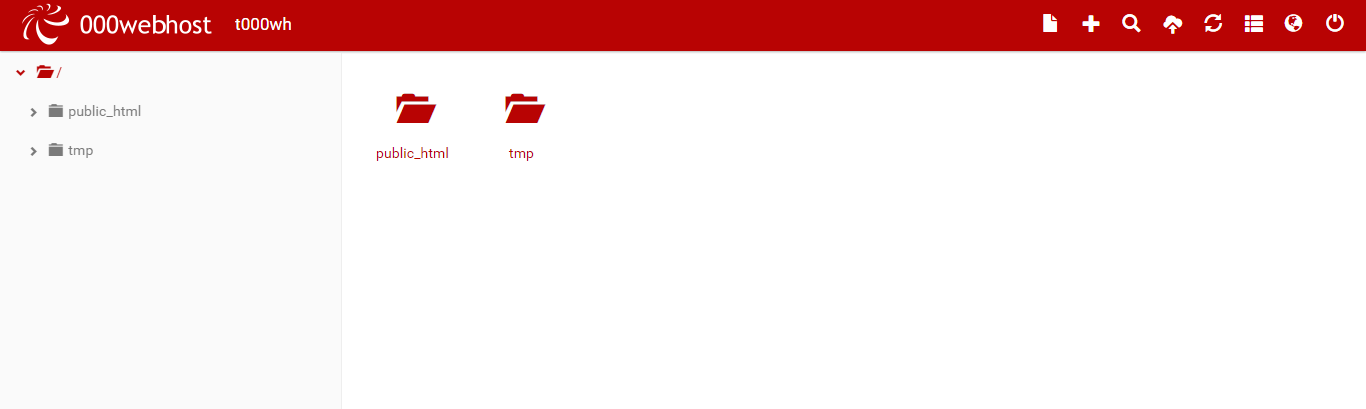
6)Click and Open “public_html”.
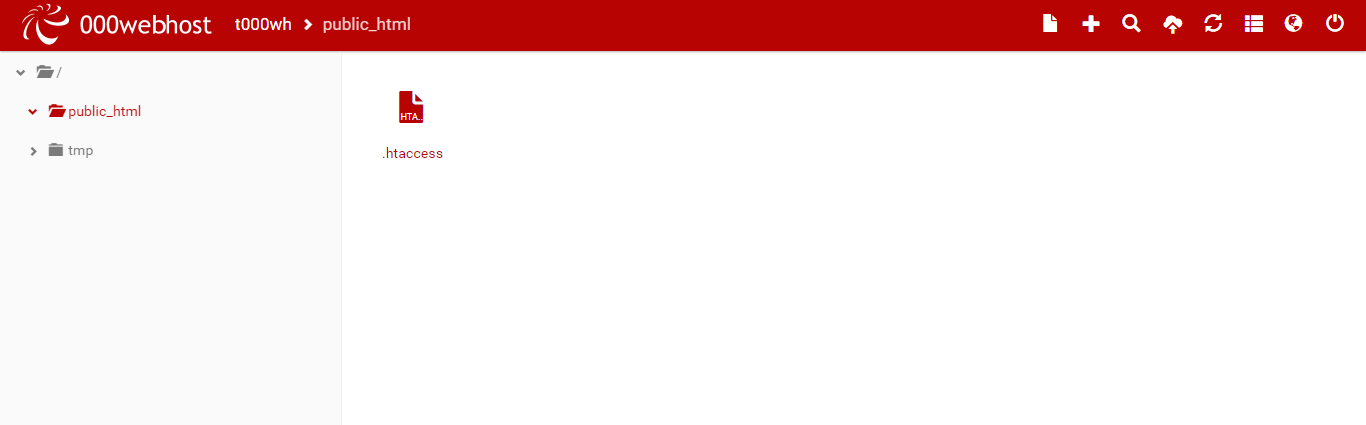
7)Upload “xoops-2.5.8.1”
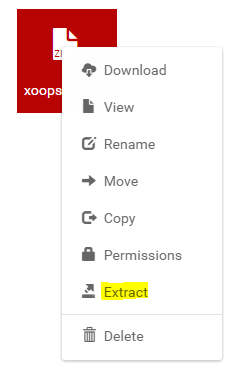
8)Now Right click on “xoops-2.5.8.1” and click on “Extract”
(Use this unzipper…if you have problems while extracting, Link:- https://github.com/ndeet/unzipper)
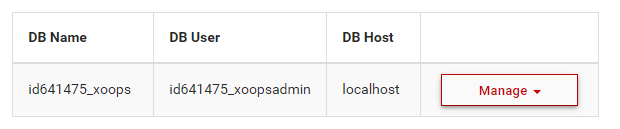
9)Also create database for your xoops-2.5.8.1 site from “Manage Database”
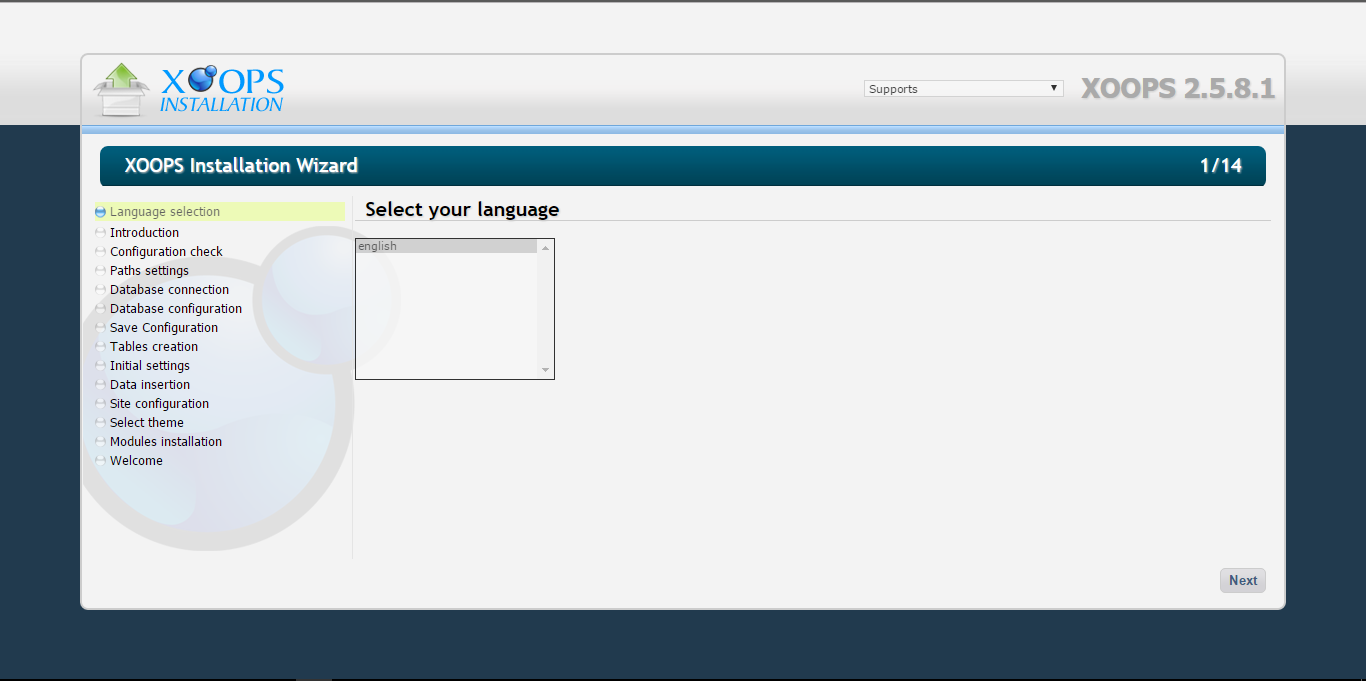
10)Now Open Xoops Installation Page and Select Language and click “Next”.
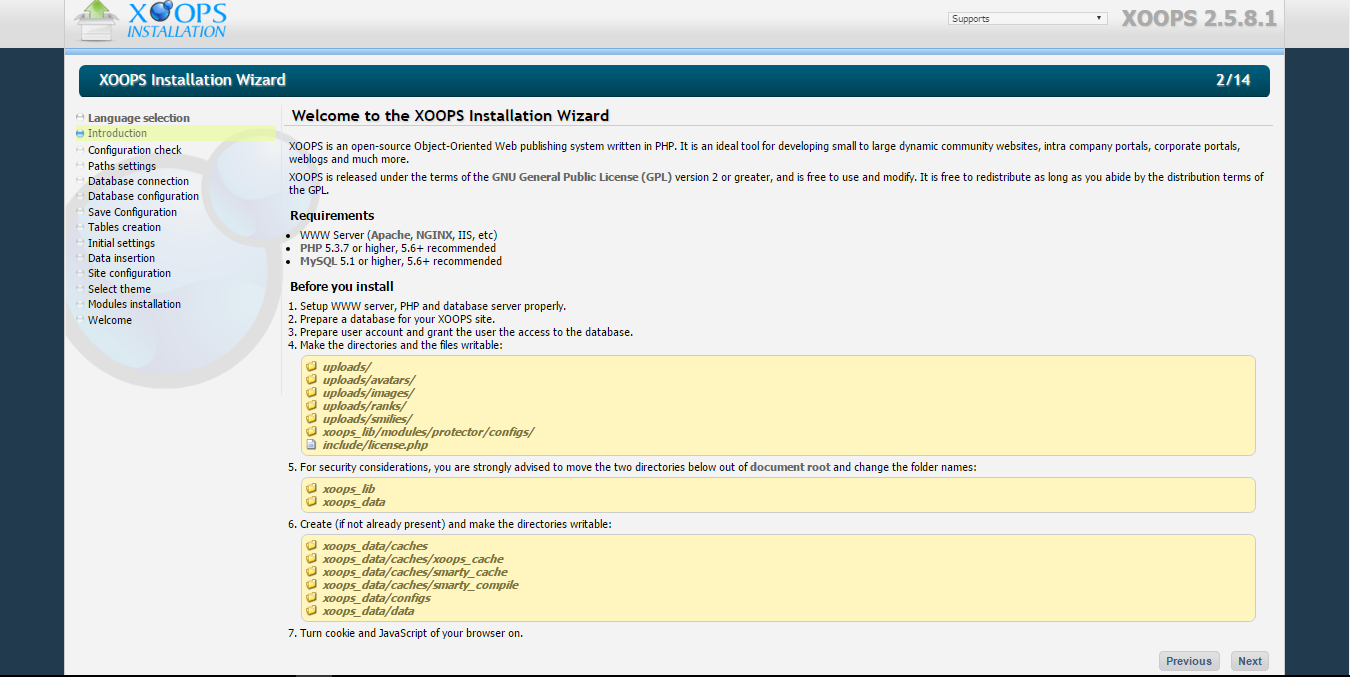
11)Read Introduction Part and click “Next”.
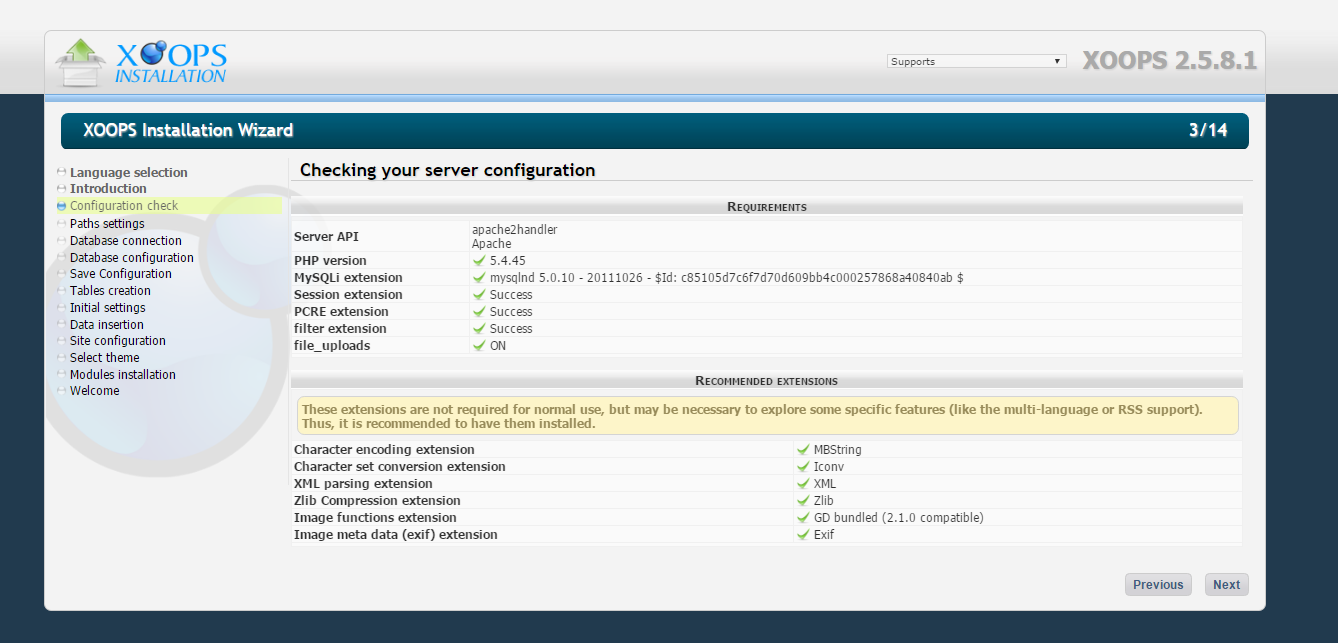
12)Now make sure that your server configuration has all green ticks and click “Next”
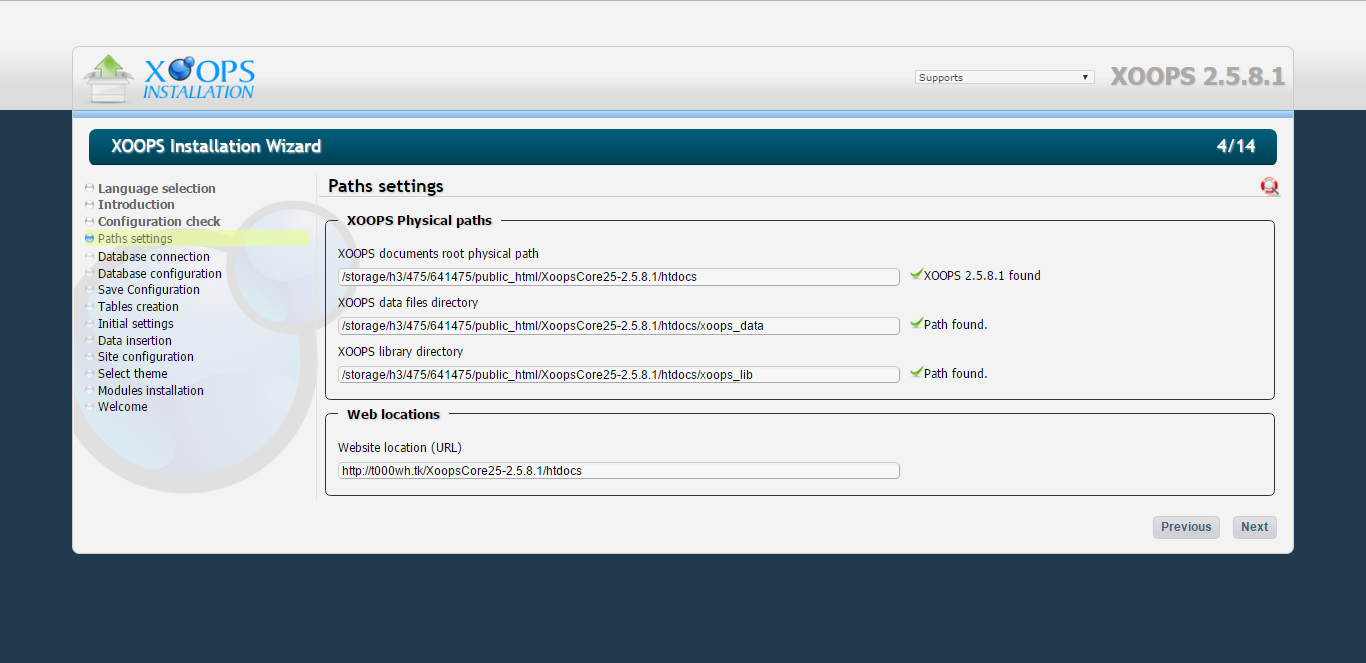
13)Don’t make any changes in Xoops Physical Paths and Web locations and click “Next”.
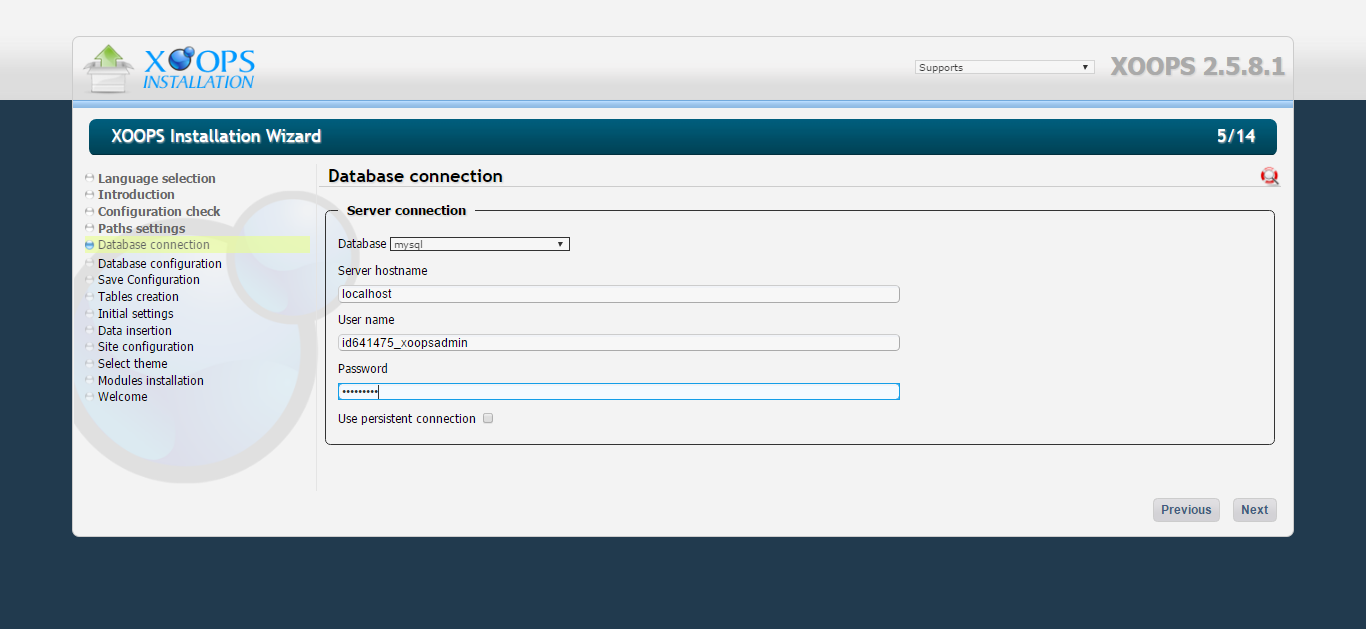
14)Enter Your Database related username and password and click “Next”.
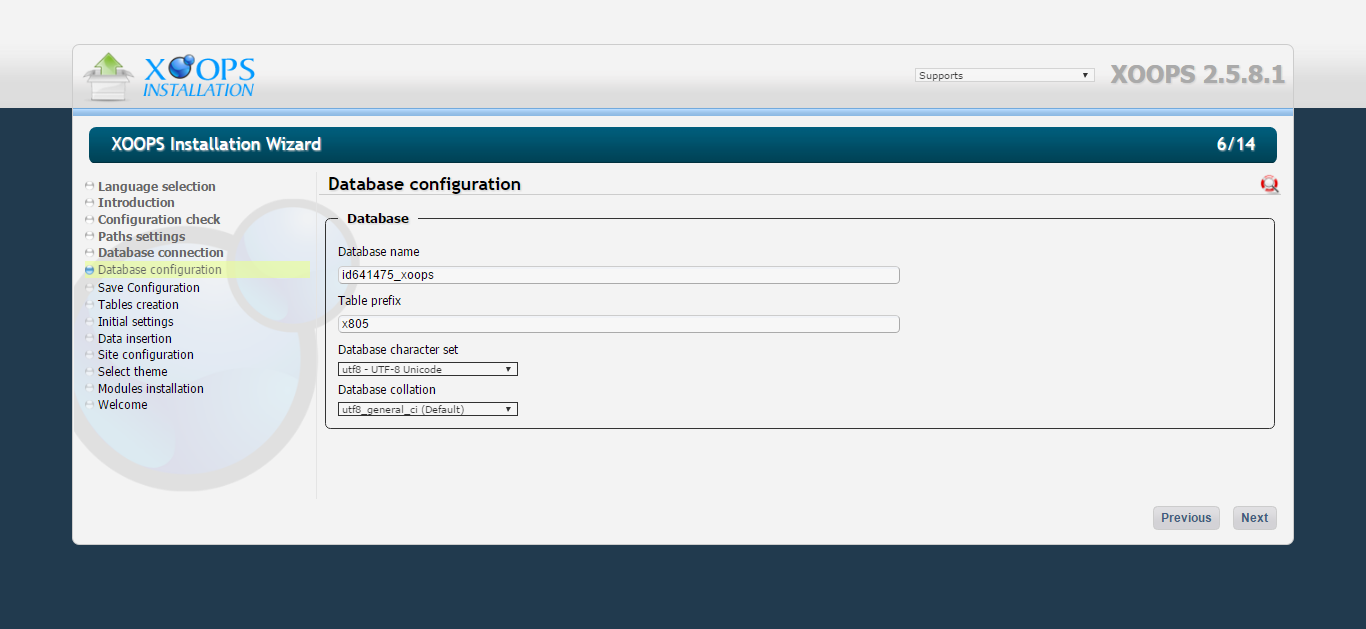
15)Enter Your Database Name and click “Next”.
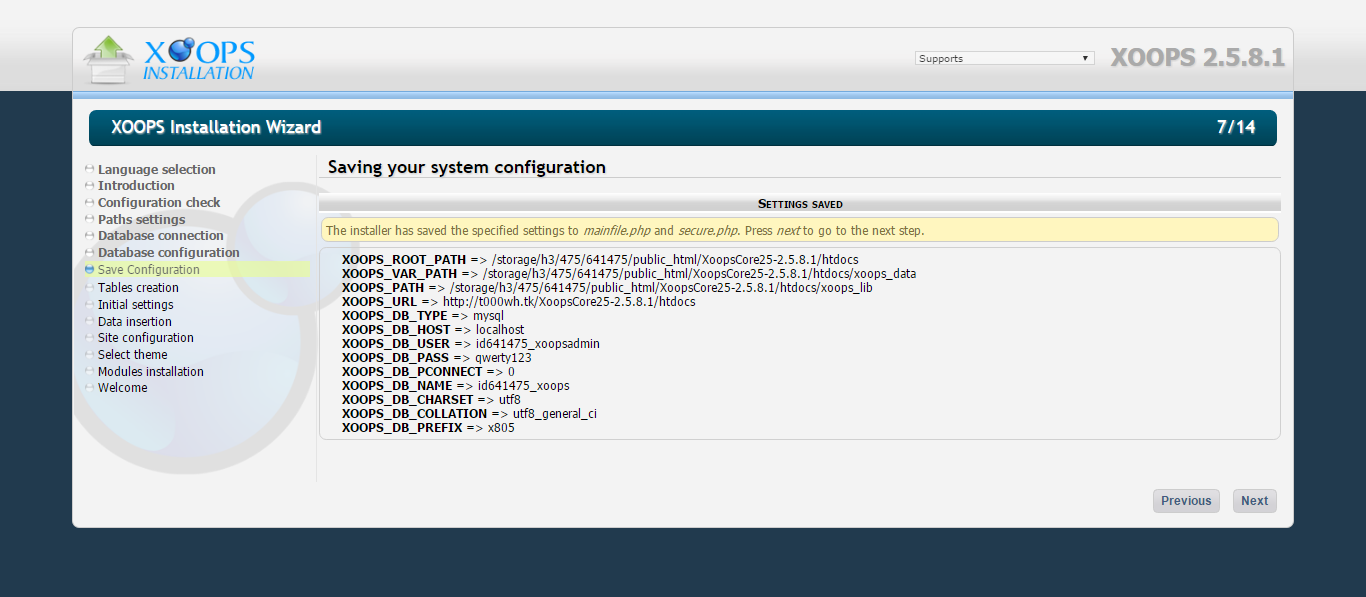
16)Check saved configuration and click “Next”.
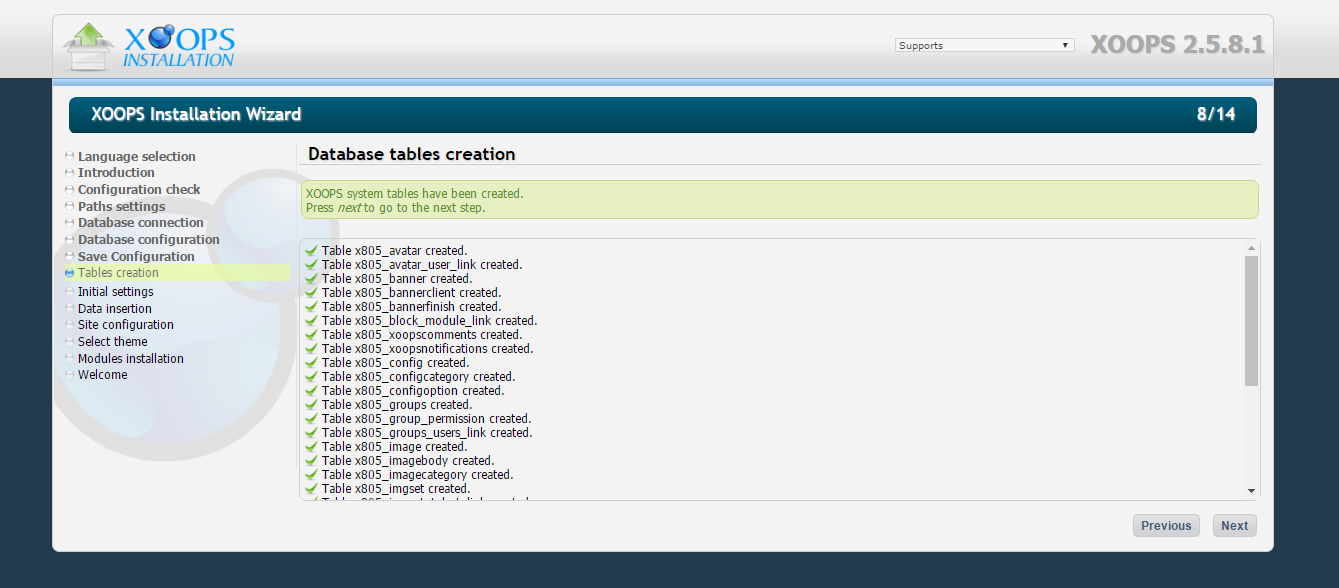
17)Wait for Database tables creation and click “Next”.
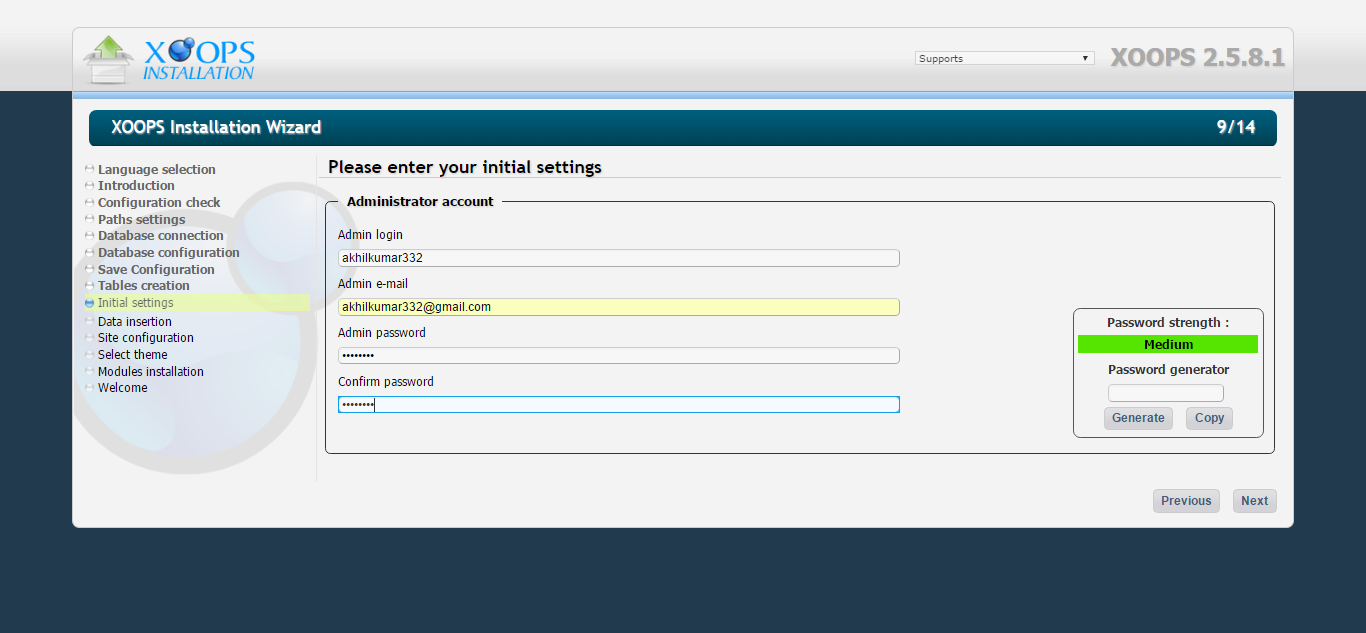
18)Create Admin account and click “Next”.
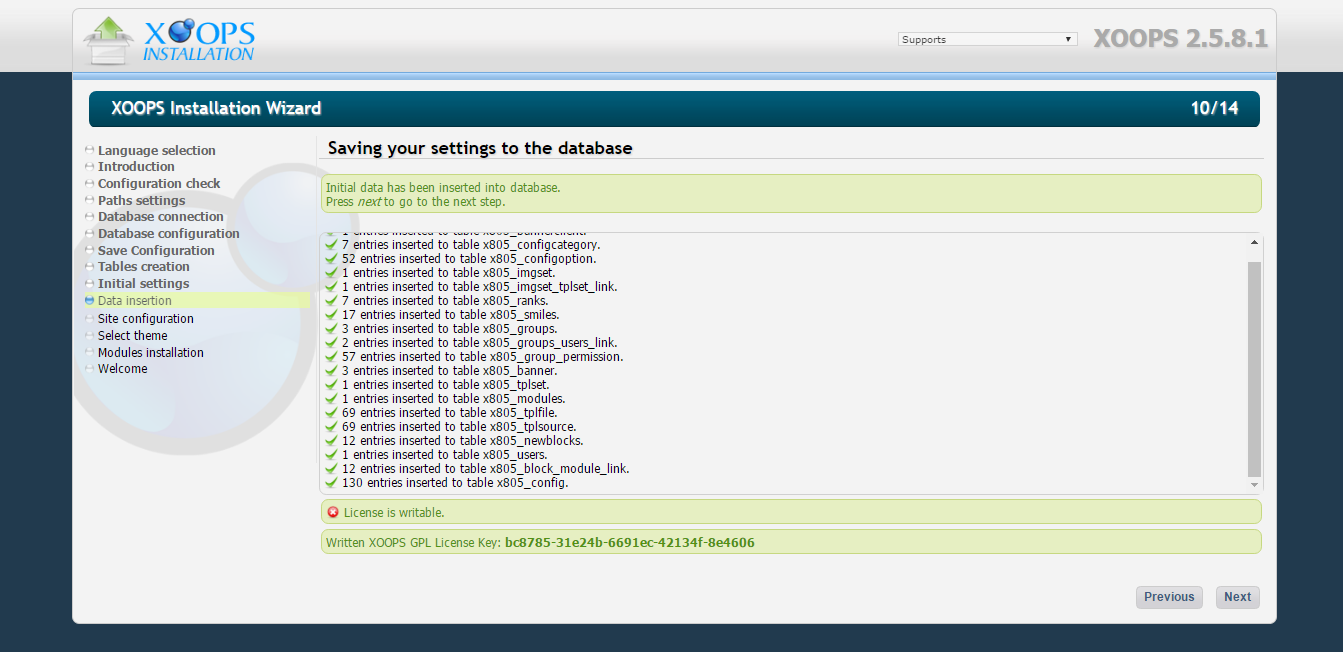
19)Check for Data Insertion and click “Next”.
20)Check and edit Site Configuration and click “Next”.

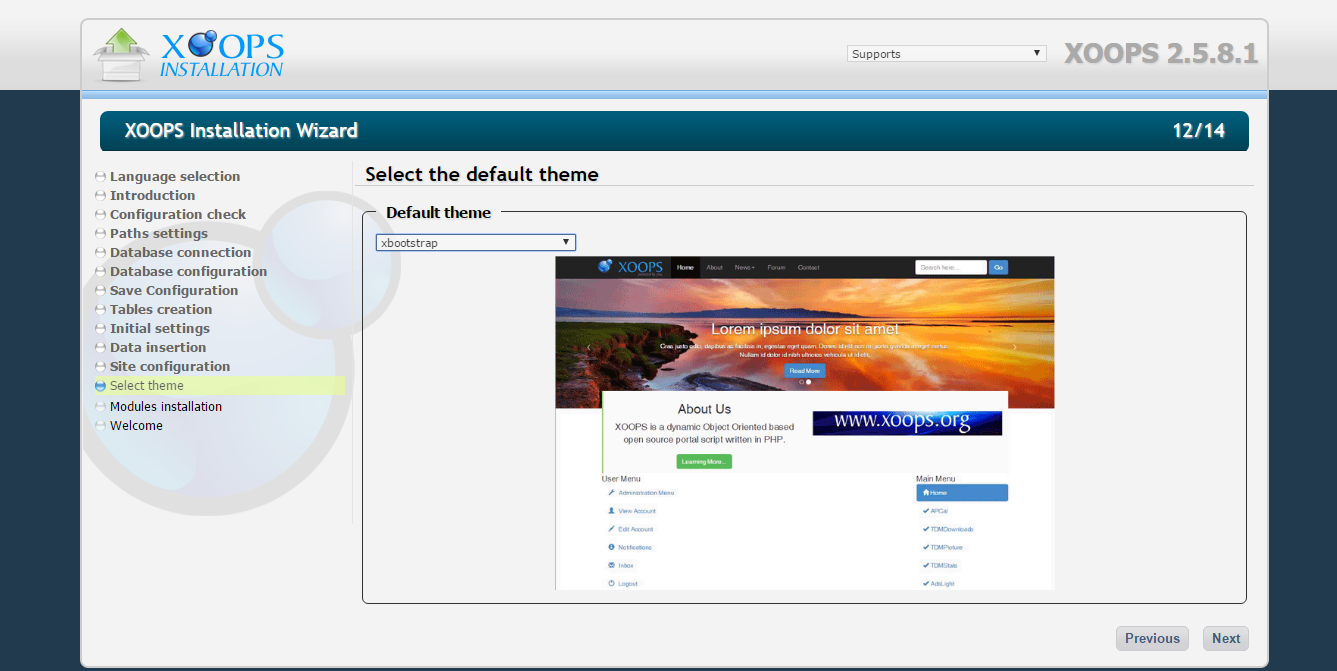
21)Select Theme and click “Next”.
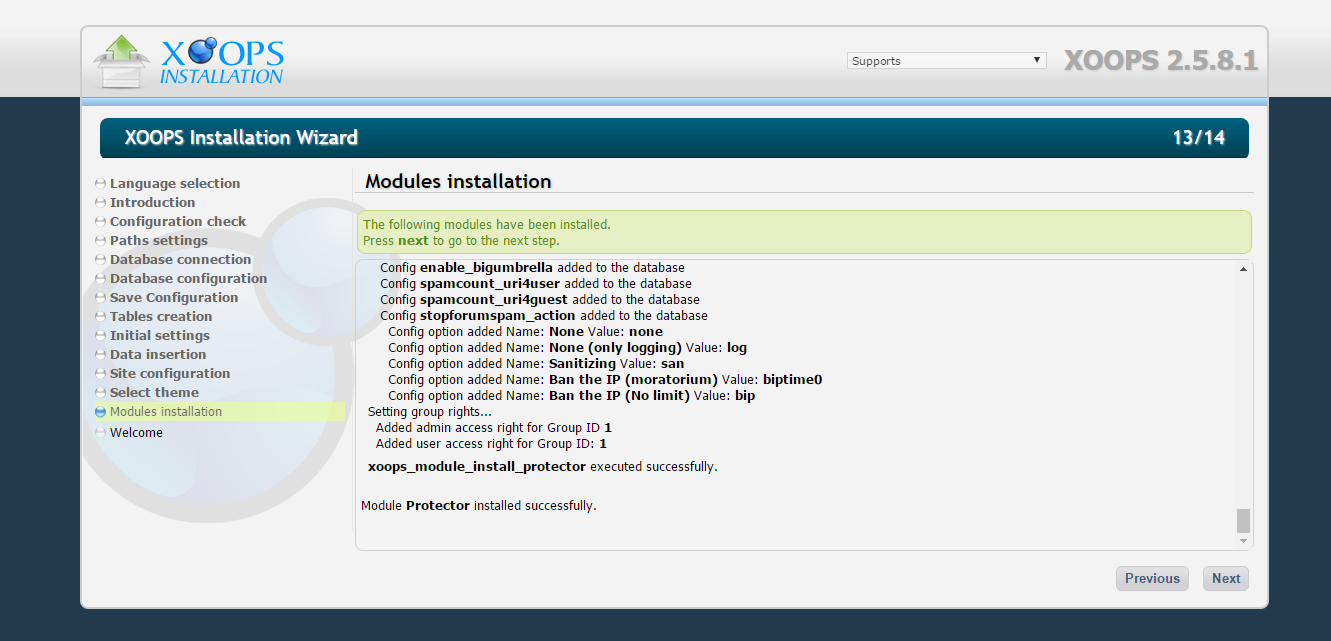
22)Check and enable Modules installation…then wait for modules to be installed and click “Next”.

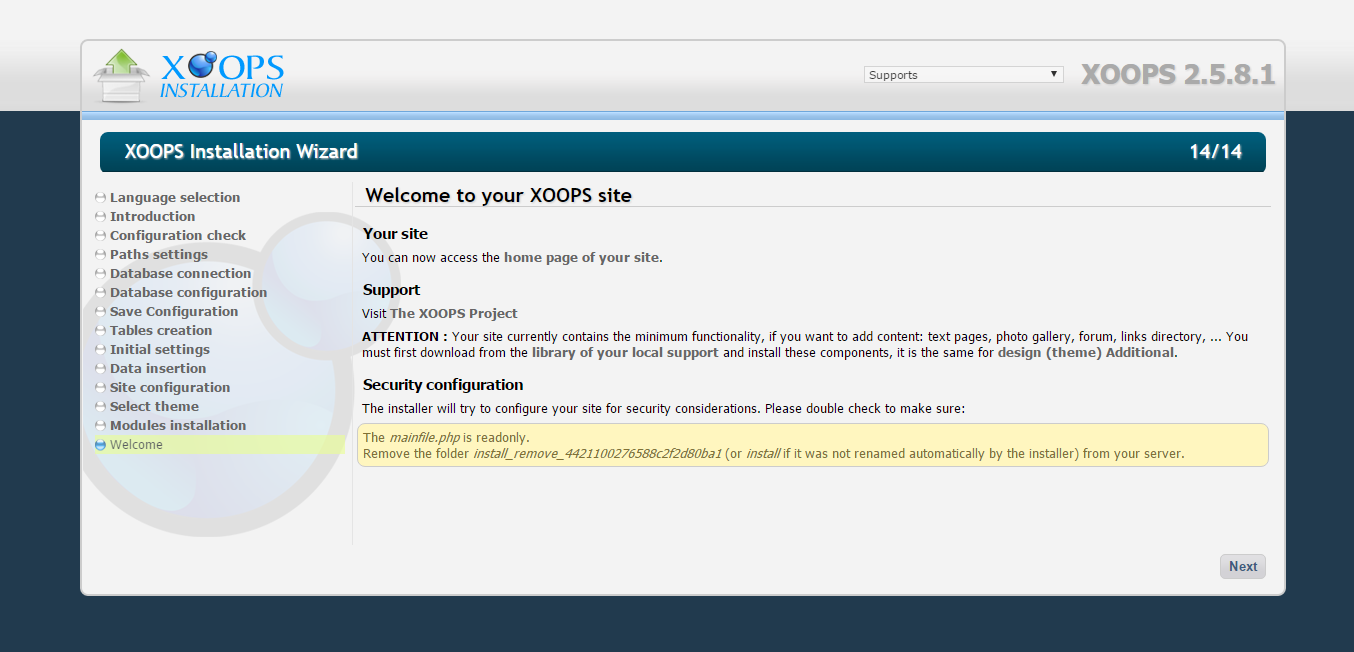
23)Read Welcome details and click “Next” and Finally you’re Done.
If you have any questions do reply or PM me!!!